Daily Unreal Column #13 - Level Instancing
Making complex structures by bashing together multiple static meshes is a common practice. Here is a correct way of doing it.

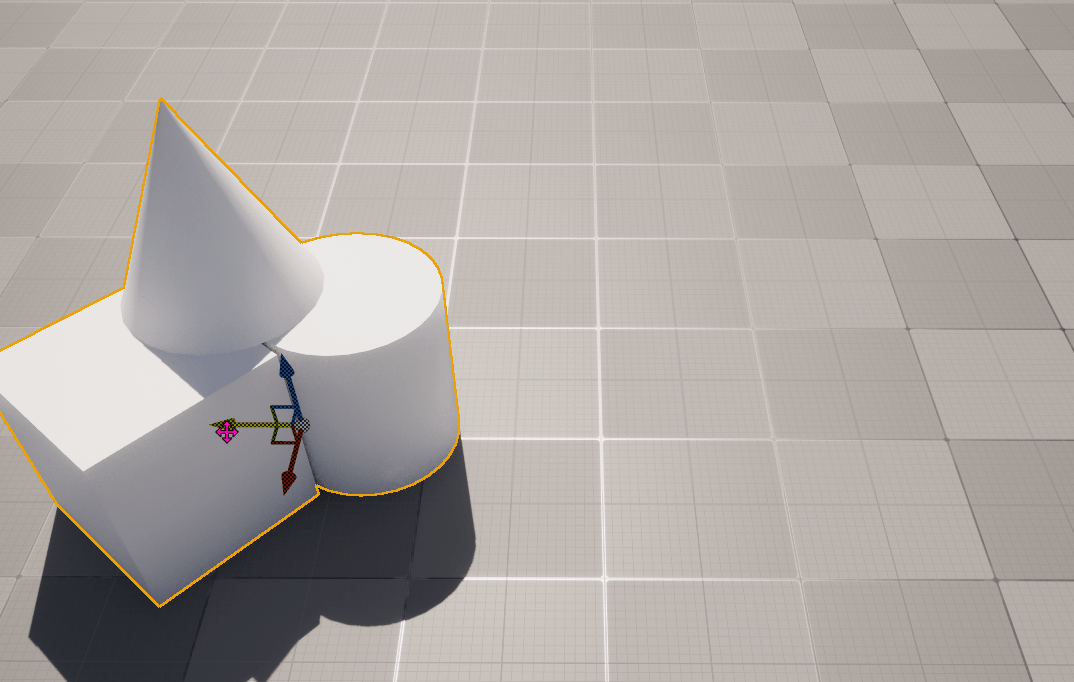
Whenever there is a need of having a reusable structure made out of multiple static meshes, I can often see people creating a blueprint actor class and attach multiple static mesh components to it. This is however not an optimal way of doing it.
Unreal Engine has a feature called Level Instancing. There are two types of them:
Level Instances
Packed Level Actor
The main difference between them is that the latter one creates a blueprint asset that allows user to make simple modifications at runtime. These modifications can be:
updating scale
updating rotation
updating static mesh (with a limitation that it must be using same material)
To create a Level Instance, select desired actors, press RMB and pick one of the two available options.
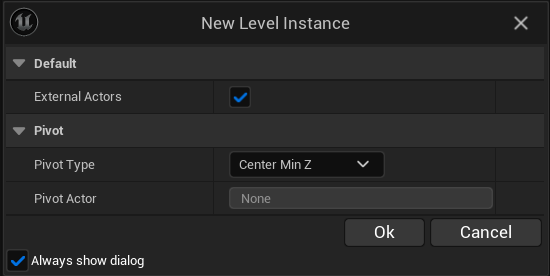
New prompt will appear asking about pivot point. In majority of the cases these all settings should remain default.
After pressing Ok, pick a location and a name for the level instance. Once created, this is how it looks like in the level’s hierarchy window:

It is of course possible to edit the Level Instance and all changes made to it will be propagated to all the other instances on a level. To edit it simply select it and press Edit button. Once changes are made, press the Commit Changes button.

Creating Packged Level Actor will also create a Level Instance AND a blueprint that looks like this:
Notice that this blueprint has instanced static mesh components, not regular static mesh components.
To make changes to it, follow the same step as for Level Instance.
Using the blueprint we can now make a script to apply some modifications to it. I'll apply random rotation to the cube. Keep in mind that the rotation will be relative to the pivot point of the actor, not pivot point of the scene component (I'm not sure this is intended behavior or not).